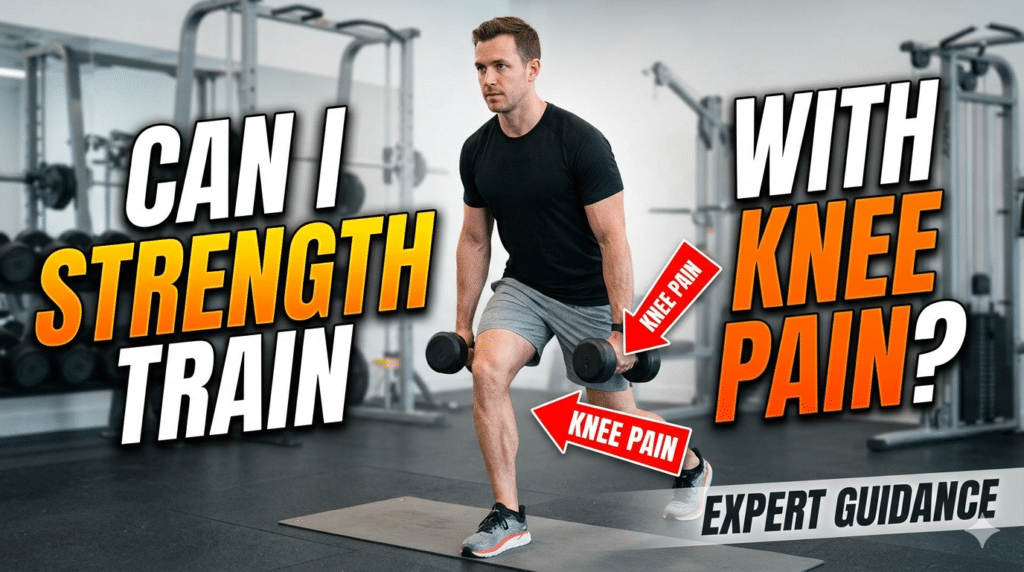
Can I Strength Train With Knee Pain?
If you're over 40, "dodgy knees" often feel like an inevitable tax on your active years. You try to squat, and there's a sharp pinch. You try to lunge, and there’s a dull ache. Eventually, you stop training legs altogether, and that’s when the real trouble begins.
At DadBod40, we believe that muscle is the ultimate body armor. Shying away from leg day doesn't save your knees; it makes them more vulnerable by weakening the supporting structures. The question isn't whether you can train with knee pain—it’s how you adapt your training to build a "bulletproof" foundation. This is your guide to navigating knee discomfort without sacrificing your strength.
Understanding the "Why" of Knee Pain
The knee is essentially a hinge caught in the middle. It’s a slave to what’s happening at the ankle and what’s happening at the hip. Most knee pain isn't actually a "knee problem"; it's a loading problem or a stability problem.
[Image of knee anatomy showing ligaments and tendons]When the glutes are weak or the ankles are stiff, the knee has to compensate for the lack of range and power. Over time, this leads to patellar tendonitis, meniscus irritation, or general "grumpiness" in the joint. Strength training—when programmed correctly—is the most effective way to re-align these forces and take the pressure off the joint itself.
The Golden Rule: Training Around the "Pain Threshold"
We use a simple 0-10 scale for training with discomfort.
- 0-3 (Green Light): A "niggle" or mild discomfort. It’s safe to proceed.
- 4-5 (Yellow Light): Significant ache. Modify the range of motion or tempo.
- 6+ (Red Light): Sharp, stabbing pain. Stop the movement and find an alternative.
Your goal is to find the "Entry Point"—the heaviest load you can handle that stays in the 0-3 range. This "therapeutic loading" signals to your body that the tissue needs to get stronger, not just inflamed.
| The "Grumpy" Movement | The Common Issue | The "Knee-Friendly" Swap |
|---|---|---|
| Barbell Back Squat | High shear force & forward knee travel | Box Squats or Spanish Squats |
| Forward Lunges | Deceleration stress on the patella | Reverse Lunges or Step-ups |
| Leg Extensions | Compression at the end of range | Terminal Knee Extensions (TKEs) |
| Running/Jogging | Repetitive high-impact loading | Sled Drags (Backward) or Rucking |
Strategy 1: The Power of Isometrics
If moving a joint hurts, don't move the joint. Isometrics—holding a muscle contraction without changing its length—are a "cheat code" for tendon health. Research shows that heavy isometric holds can have an analgesic (pain-killing) effect that lasts for hours.
The **Wall Sit** or a **Spanish Squat Hold** (using a heavy band behind the knees) forces the quadriceps and the patellar tendon to handle high tension without the friction of movement. This builds the structural integrity needed to eventually return to full-range squats. Start with 3-5 holds of 30-45 seconds.
Strategy 2: The VMO and Knee Tracking
The **Vastus Medialis Obliquus (VMO)** is that teardrop-shaped muscle on the inside of your thigh. Its primary job is to ensure the kneecap "tracks" correctly. In many men over 40, the VMO becomes sleepy, allowing the kneecap to pull slightly off-center, causing friction.
To wake up the VMO, focus on Terminal Knee Extensions (TKEs). By looping a resistance band around a pole and behind your knee, you practice the last 10-15 degrees of locking your leg out. This specific range of motion is where the VMO is most active and is the foundation of a stable knee.
Strategy 3: Sled Drags—The Ultimate Finisher
If you want to build massive leg strength without any of the vertical compression that hurts knees, start dragging a sled. Specifically, **Backward Sled Drags**.
When you walk backward against resistance, you are essentially performing a concentric-only movement for the quads. There is no "eccentric" (lowering) phase, which is where most joint irritation happens. It pumps massive amounts of blood into the knee joint, acting like a biological "oil change."
If standard squats are out, the Landmine Squat is a game-changer. Because the barbell is on a fixed arc, it forces you to sit "back" into your hips. This reduces the forward travel of the knee and shifts the load to the glutes and hamstrings—the natural defenders of the knee joint.
Strategy 4: Addressing the Neighbors (Ankles & Hips)
Often, "knee pain" is a cry for help from stiff ankles or tight hips. If your ankles don't flex properly, your knee is forced to move in ways it wasn't designed for.
- Ankle Mobility: Spend 2 minutes a day doing weighted calf stretches or ankle "pumps.
- Hip Strength: Prioritize the Glute Bridge or Clamshells. A strong glute medius prevents the knee from collapsing inward (valgus), which is a major cause of meniscus wear.
The "Return to Play" Protocol
When you're ready to re-introduce heavier loads, follow this hierarchy:
1. **Isometrics:** (Wall sits, band holds)
2. **Limited Range Movements:** (Box squats, floor presses)
3. **Full Range with Slow Tempo:** (5-second descents)
4. **Dynamic Movements:** (Standard lifting)

J.V. CHARLES – DadBod40
J.V. Charles is a longevity researcher and performance coach. He has spent the last decade helping men navigate the physical realities of aging without losing their competitive drive. He believes that the best years of your life shouldn't be spent on the sidelines.